
Photoflare のスクリーンショット
<1> 日本語化手順 - 「Tools」⇒「Preferences」

<2> 日本語化手順 - 「Startup」タブ⇒「Japanese」とクリック

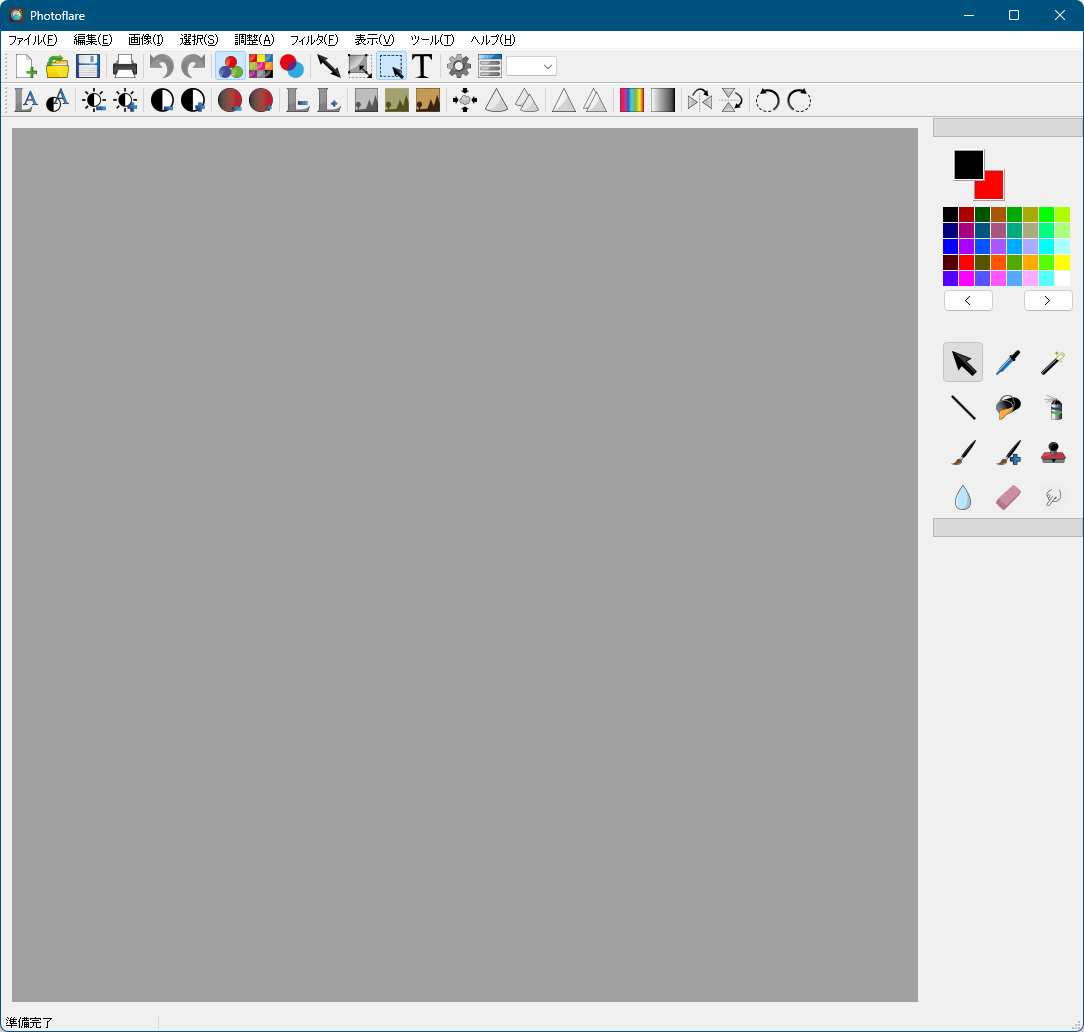
<3> 日本語化されたメイン画面
<4> 新規画像作成

<5> 新しいキャンバス

<6> ドラッグして範囲選択した後、右クリックメニューから「切り抜き」でクロップ

<7> 水平に反転

<8> 画像サイズの変更

<9> リサイズした結果

<10> 自動レベル

<11> 自動コントラスト

<12> グレースケール

<13> ツールパレット

<14> 掲載しているスクリーンショットのバージョン情報

