
ChrisPC Screen Recorder のスクリーンショット
<1> ChrisPC Screen Recorder

<2> Screenshot のメニュー表示
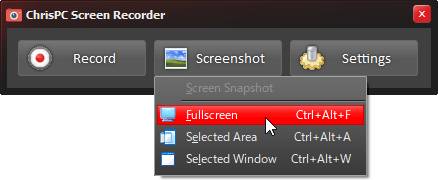
<3> 選択した範囲をキャプチャーする

<4> 選択したウィンドウをキャプチャーする

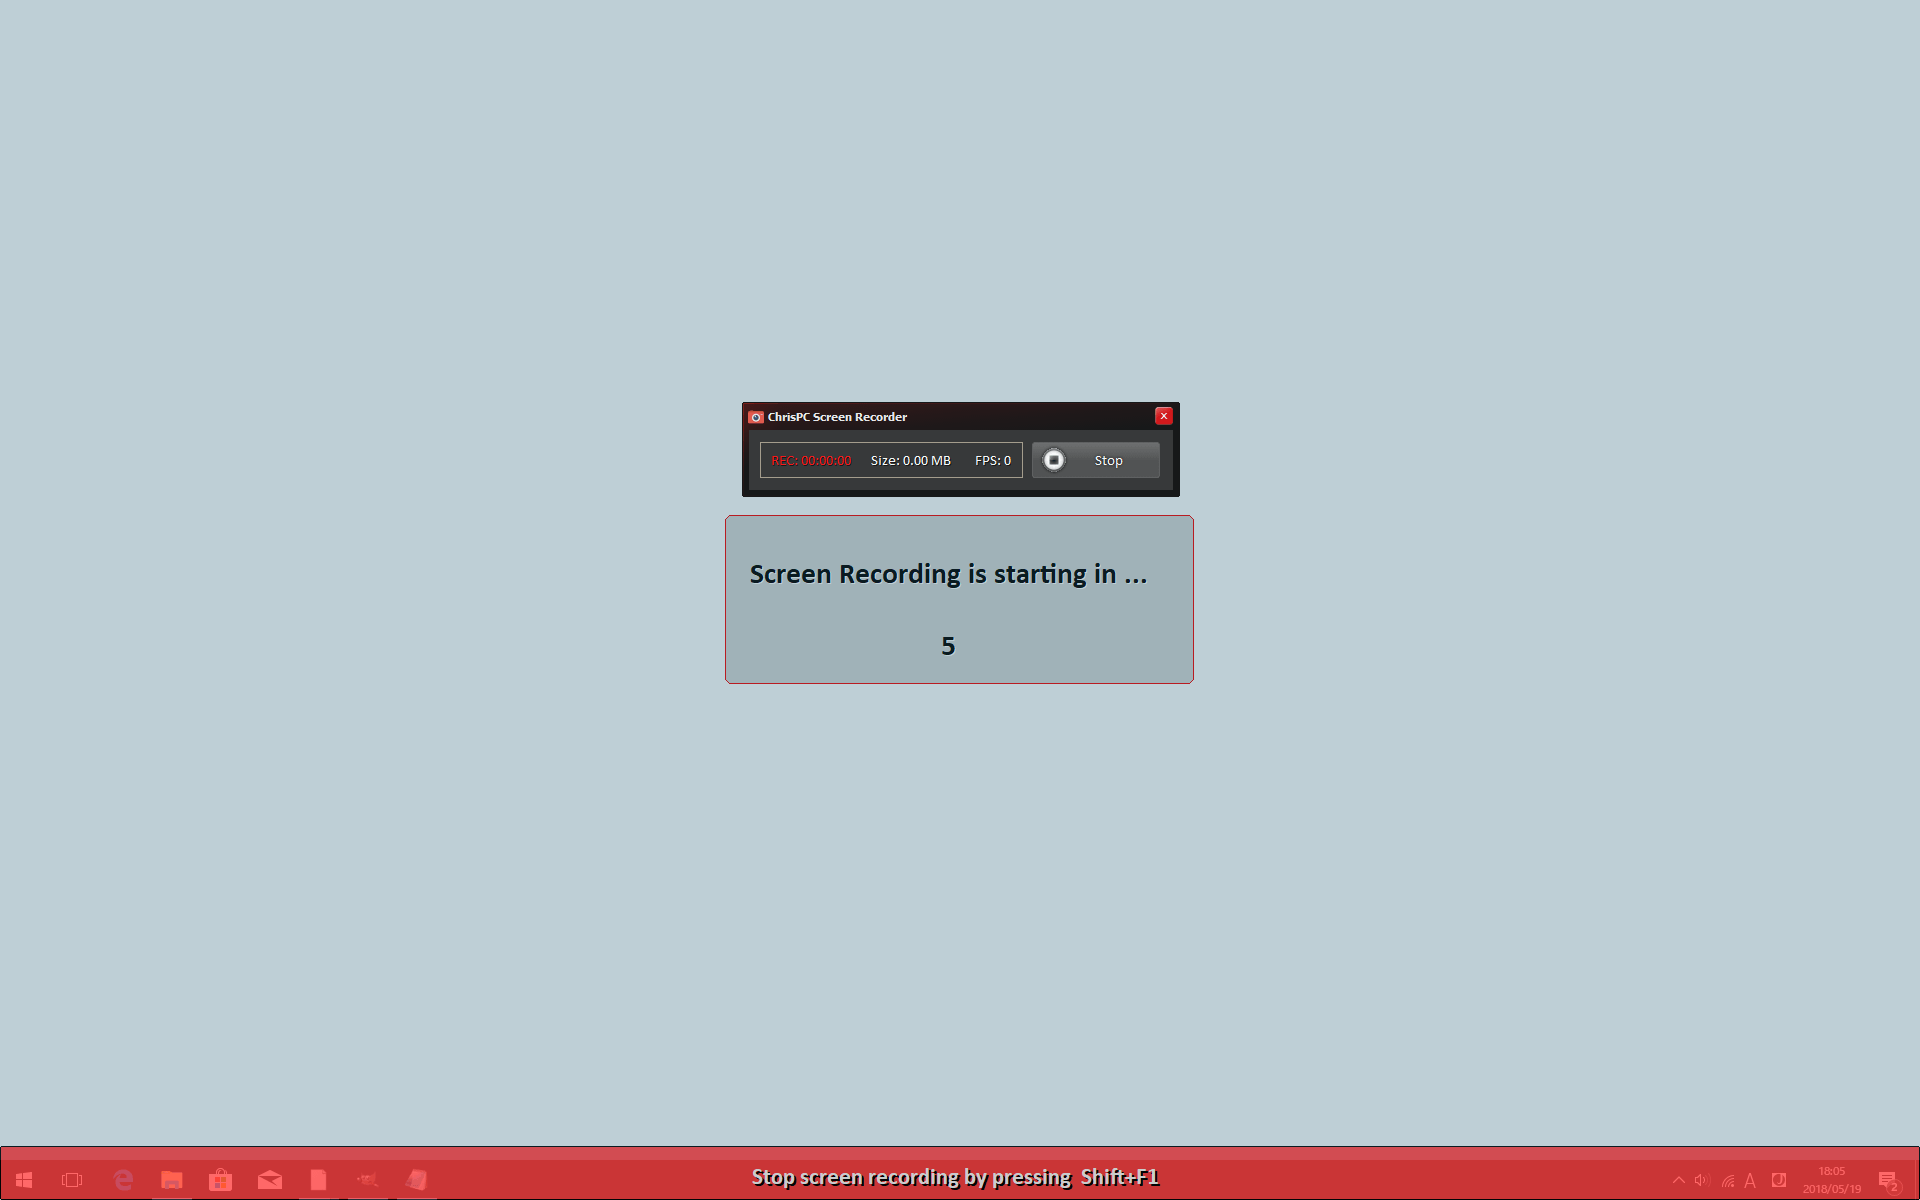
<5> デスクトップ全体を録画する(5秒のカウントダウン後に録画を開始)
<6> 録画後に表示される Video Editor

<7> Settings - Recording

<8> Settings - Screenshot

<9> 掲載しているスクリーンショットのバージョン情報

