
AnyViewer のスクリーンショット
<1> AnyViewer - インストール

<2> AnyViewer - 「接続」画面
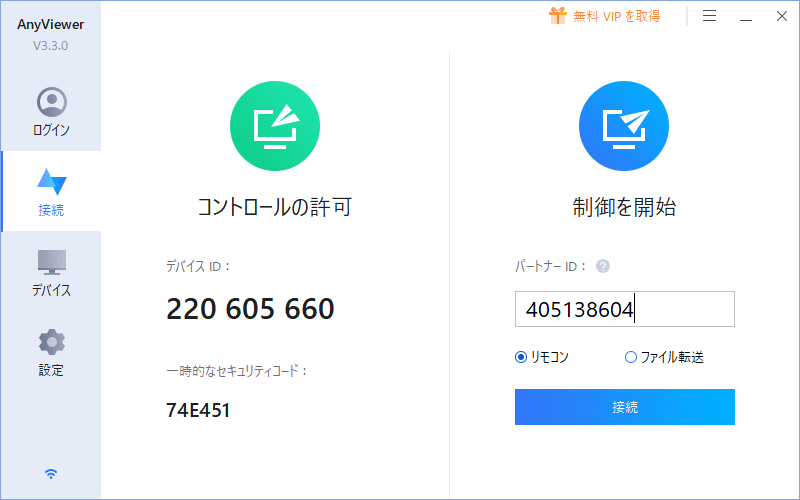
<3> 接続したい PC のデバイス ID を入力して「接続」ボタンをクリック

<4> 「接続リクエスト」画面

<5> リモート接続完了

<6> オリジナル/アダプティブを切り替え

<7> 操作される側 PC の解像度を変更

<8> チャットウィンドウでやり取り可能

<9> PC のロック、シャットダウンなどの操作メニュー

<10> メニューの非表示

<11> ファイル転送

<12> 「アカウント」画面

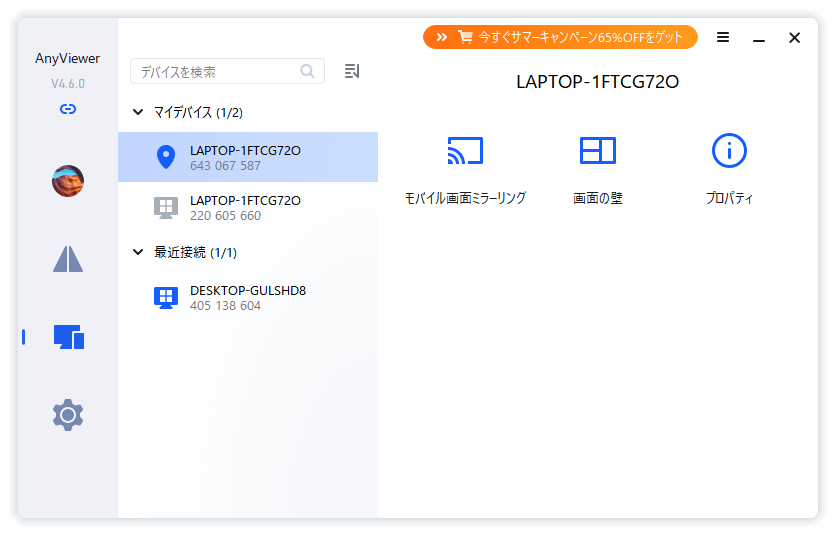
<13> 「デバイス」画面

<14> 「設定」画面
<15> 掲載しているスクリーンショットのバージョン情報

